A solid foundation begins with selecting the right software and hardware. Popular digital art programs include Photoshop, Procreate, and Clip Studio Paint. Photoshop remains an industry standard for its versatility, while Procreate is a favorite among iPad users for its smooth interface. Clip Studio Paint is ideal for comic and manga artists due to its specialized inking and paneling features. Krita is an excellent free alternative for those seeking a cost-effective yet powerful painting tool.
Equally important is choosing a reliable drawing tablet. Wacom and XP-Pen tablets provide excellent pressure sensitivity and control for desktop users. For an all-in-one portable solution, an iPad with an Apple Pencil delivers a seamless drawing experience. Finding a comfortable setup that aligns with your workflow will significantly enhance your creative process.
Understanding the basics of digital illustration
Before diving into complex techniques, it's essential to master the core tools. Layers are a fundamental advantage of digital art, allowing artists to separate line work, colors, and shading for better control. Using multiple layers makes it easier to make adjustments without affecting the entire piece.
Brushes are another key element in digital illustration. Different brushes mimic traditional textures such as pencil, ink, watercolor, and oil paint. Many artists use custom brushes, but starting with default brushes helps build foundational skills.
Pressure sensitivity plays a crucial role in digital drawing, influencing line weight and opacity based on how much pressure is applied to the stylus. Adjusting these settings can help make digital strokes feel more natural, resembling traditional media.
Sketching and line art techniques
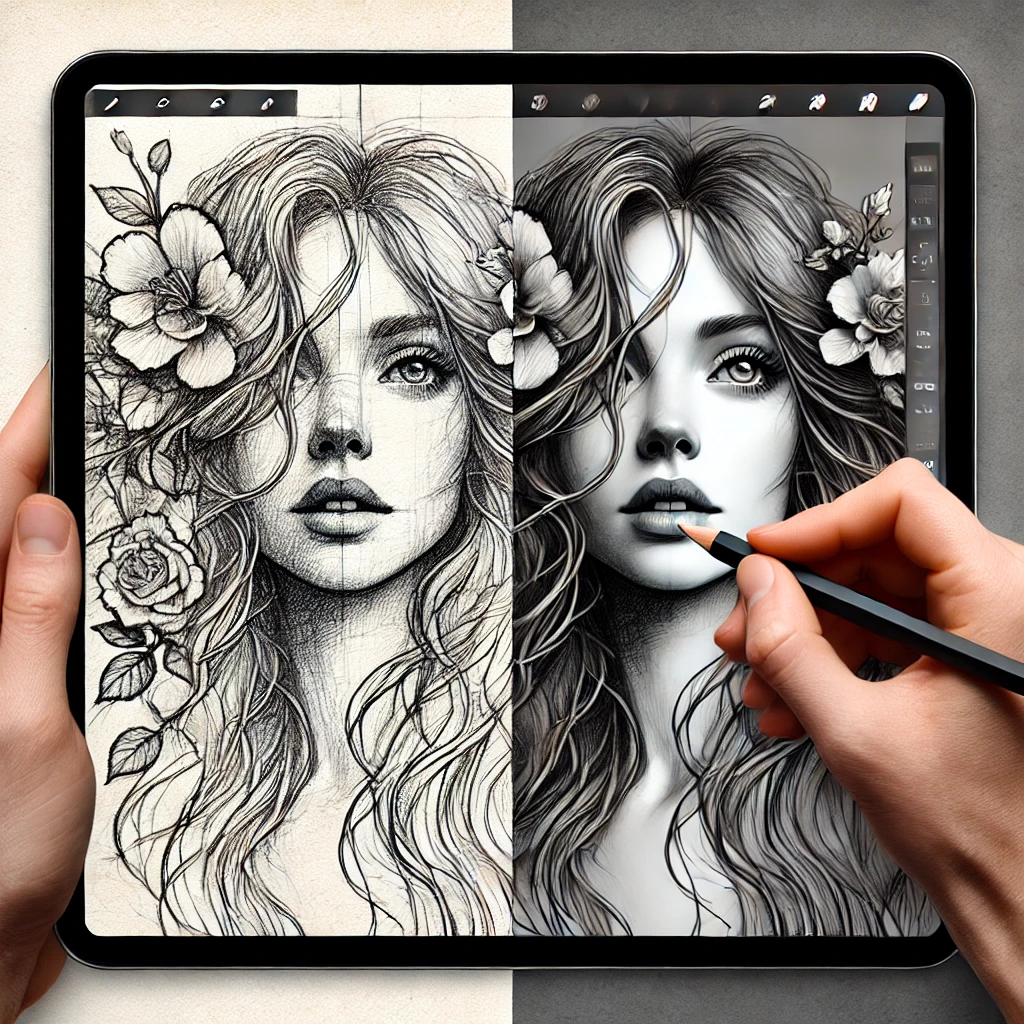
Sketching is the first step in the illustration process, where you map out the composition and key elements of your artwork. Begin with simple shapes and basic lines to establish the overall structure, and then refine the details.
- Start with a rough sketch: Use basic shapes to outline the composition. Don't worry about perfection at this stage.
- Work with layers: In digital art, layers allow you to separate the sketch from the other elements like colors and shading. This makes it easier to make changes without affecting the entire piece.
- Refining the sketch: After establishing the basic layout, refine the details by adding features, textures, and adjusting proportions. Keep your lines clean and organized.
A solid sketch is crucial for a successful digital illustration. It will serve as the foundation for your coloring and shading techniques.
Shading and adding depth
Shading brings depth and realism to digital illustrations. Understanding light direction and shadow placement is essential for creating a three-dimensional effect. Whether using soft gradients or hard-edged cel shading, the approach should match the overall style of the artwork.
Blending modes like Multiply and Overlay enhance the way light and shadow interact with colors. Multiply is great for realistic shadows, while Overlay adds warmth and vibrancy to highlights.
Mastering color theory and composition
Color selection greatly impacts the mood and readability of an illustration. Complementary colors provide strong contrast, while analogous color schemes create harmony. Experimenting with different palettes helps in developing a unique artistic style.
Balancing warm and cool tones enhances depth. Warmer colors work well for highlights, while cooler hues help push elements into the background. Adjusting saturation and brightness further refines the composition, ensuring a polished final look.
Composition is equally crucial in guiding the viewer’s eye across an image. The rule of thirds helps create strong focal points, while negative space prevents overcrowding, allowing the subject to stand out. A well-structured composition ensures the artwork remains visually engaging and balanced.
Final touches: polishing and exporting your work
Once you’ve added all the colors, shading, and details, it's time to finalize your illustration. This is the stage where you make any necessary adjustments, refine the composition, and polish the piece to perfection.
- Review and refine: Step back and assess your illustration as a whole. Make sure everything looks cohesive, and adjust color balance, contrast, or shading where needed.
- Export your file: When you're satisfied with the final result, save your work in the appropriate format, such as JPEG, PNG, or PSD. Consider saving a version with layers intact in case you need to make further edits later.
Finalizing your illustration involves putting the finishing touches on your artwork and preparing it for presentation or publication.
Common mistakes to avoid
One of the most common mistakes beginners make is overcomplicating compositions. Trying to include too many details can make an illustration feel cluttered. Focusing on key elements helps maintain a clear and impactful visual.
Neglecting value contrast is another frequent issue. A quick way to check this is by converting an image to grayscale—if the composition still reads well, the contrast is balanced. Poor contrast can make an artwork look flat and uninteresting.
Ignoring composition planning can result in a weak final piece. Sketching multiple thumbnail layouts before committing to a final design helps ensure a well-structured and engaging composition.
Conclusion: Mastering digital illustration is a combination of technical skill and artistic intuition. Understanding core principles like sketching, shading, color theory, and composition creates a strong foundation for professional-quality artwork. With the right tools and consistent practice, artists can refine their techniques and develop their own style. Digital illustration offers endless possibilities for creative expression, and the key to growth is continuous learning and experimentation.
What is the best software for digital illustration?
The best software depends on workflow and personal preference. Photoshop is an industry standard due to its versatility, while Procreate is great for iPad users looking for a smooth, portable experience. Clip Studio Paint is perfect for comics and detailed illustrations, and Krita is a free alternative with powerful tools for digital painting.
How can I improve my digital illustrations?
Improving digital illustrations requires consistent practice and learning core artistic principles. Studying composition, shading, and color theory enhances technical skills. Experimenting with different brushes and blending techniques refines personal style. Taking online courses and observing professional artists provides inspiration and accelerates learning.
Is digital art easier than traditional art?
Digital art offers more flexibility with layers, undo functions, and advanced editing tools. However, it requires learning software and adapting to screen-based drawing. Traditional skills like composition and shading apply to both forms. While digital tools simplify corrections, mastering any medium requires dedication, practice, and an understanding of artistic fundamentals.